The Ultimate Sandwich Bread Recipe for Home Bakers
I love bread, and making homemade sandwich bread is my favorite. The smell of fresh bread in your kitchen is amazing. It’s even better when you make it yourself.
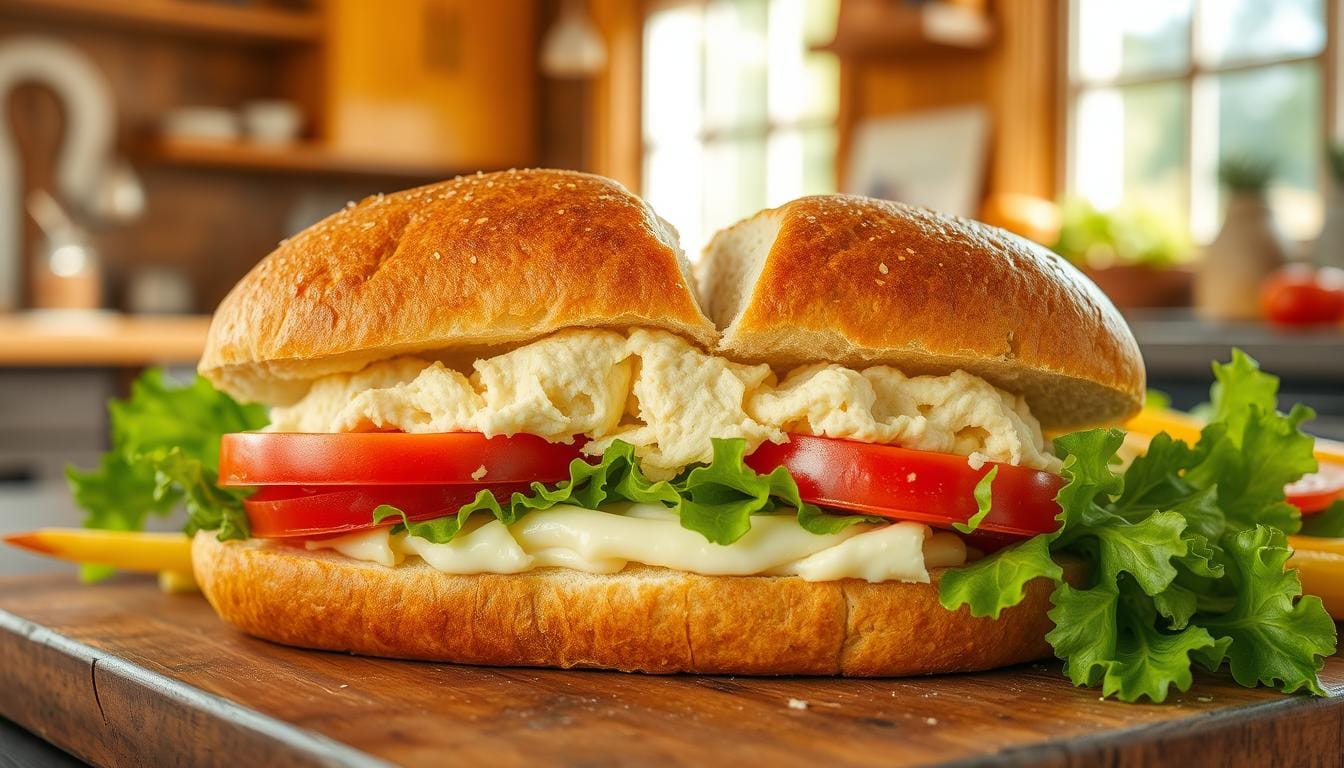
Imagine biting into a soft slice of Sandwich bread recipe. The butter melts and the flavors mix perfectly. This classic white bread is key for the best sandwiches. With simple ingredients and patience, you can make it at home.
Table of Contents
Understanding the Basics of Homemade Bread Making
Baking homemade bread can seem tough, but it’s rewarding. The key to great bread is the flour. Bread flour, with more protein, is best for a perfect sandwich bread.
Different Types of Bread Flour
Bread flour, also called “high-gluten flour,” has more protein than all-purpose flour. This means the dough can develop a stronger gluten structure. This results in a chewier, more structured crumb. For the best sandwich bread, choose unbleached bread flour for fuller flavor and better rise.
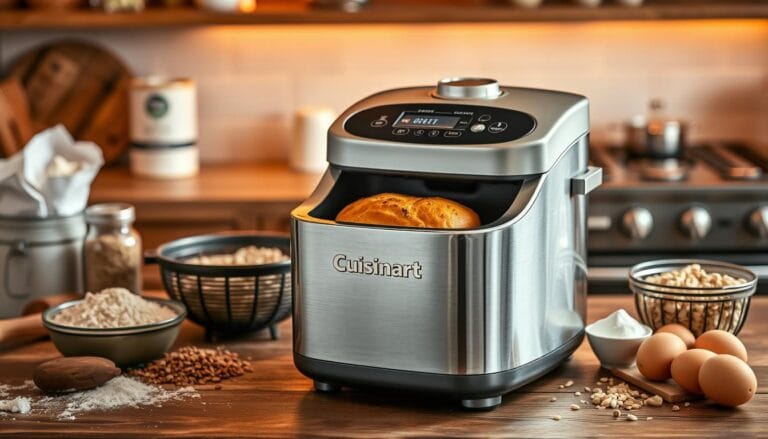
Essential Equipment for Bread Baking
- A KitchenAid Stand Mixer or similar stand mixer for effortless kneading
- A metal bench scraper for shaping and cutting dough
- Loaf pans, ideally a 9×4 inch size, for baking the perfect sandwich bread loaves
Temperature and Environment Considerations
Temperature is key in bread making. Use warm water, between 85-90°F, to activate yeast. A warm, humid place is also crucial for dough to rise. Try using a preheated oven (with the heat off) as a proofing box for the perfect environment.
“Baking bread is one of the oldest and most satisfying of all domestic arts. The aroma of freshly baked bread is hard to beat, and the taste of a slice straight from the oven is a true delight.”
Key Ingredients for Perfect Sandwich Bread
To make the ultimate sandwich bread at home, you need just a few ingredients. The recipe for soft, fluffy bread includes water, yeast, honey, flour, salt, and butter or oil. Each ingredient plays a key role in achieving the perfect texture and flavor.
Start with fresh, active yeast for a good rise. Mix it with warm water (90-95°F) and a bit of honey or sugar. This starts the yeast’s fermentation, which is vital for the bread’s structure and smell.
All-purpose flour is the base of the dough, giving it structure and stability. Mixing in some bread flour can make the crumb softer. A pinch of salt boosts the flavor, and a bit of butter or olive oil adds richness and tenderness.
| Ingredient | Quantity | Purpose |
|---|---|---|
| Water | 2 1/2 cups | Hydrates the dough and activates the yeast |
| Instant Yeast | 1 packet (approx. 2 1/4 tsp) | Leavens the bread and creates a soft, airy texture |
| Honey | 2 tablespoons | Feeds the yeast and enhances flavor |
| All-Purpose Flour | 4 1/2 cups | Provides structure and texture to the bread |
| Salt | 2 teaspoons | Enhances the overall flavor of the bread |
| Butter or Olive Oil | 3 tablespoons | Adds richness and tenderness to the crumb |
With these ingredients, you’re ready to bake the perfect homemade sandwich bread. Feel free to adjust the amounts to your liking. Let your creativity show in the final loaf.
Master the Perfect Sandwich Bread Recipe
Making the perfect bread dough for homemade sandwich bread is a mix of precision and patience. By learning the key techniques, you’ll make the artisan bread you’ve always wanted. Let’s explore the details that will make your bread machine creations stand out.
Proper Yeast Activation Techniques
The first step is to make sure your yeast is alive and ready. Activate the yeast by mixing it with warm water and a bit of honey or sugar. This step helps the yeast grow and get ready to make the dough rise perfectly.
Mixing and Kneading Methods
After your yeast is activated, it’s time to mix the dough. Use a stand mixer with a dough hook to mix the ingredients for 3-4 minutes. The dough should be a bit shaggy at this point. Then, knead it by hand on a floured surface for 1-2 minutes. This will make the dough smooth and elastic.
Optimal Rising Times
Now that the dough is mixed, it’s time to let it rise. Let it proof for about 1 hour, or until it doubles in size. After that, punch down the dough to get rid of air bubbles. Then, divide and shape it into loaves. Let the shaped dough rise again for 45-60 minutes. Finally, bake at 375°F for 25-30 minutes, until the crust is golden brown.
“The key to perfect bread dough is understanding the science behind yeast activation and dough development. By mastering these techniques, you’ll be able to craft artisan bread that rivals the best bakeries.”
With these tips, you’re ready to bake the ultimate sandwich bread in your kitchen. Remember, the journey is as rewarding as the final product. So, enjoy the process and savor the delicious results.
The Science Behind Dough Development
Making the perfect sandwich bread starts with knowing the science of dough development. At its core is the gluten network, which gives bread its chewy texture and strength. By mastering dough kneading, you can bring out the best in your bread.
The key to a strong gluten structure is proper kneading. Whether using a stand mixer or kneading by hand, aim for about 10 minutes. The dough should be thin enough to see light through it without tearing. This shows the gluten is well-developed, ready for a tall, risen loaf.
But there’s more to dough development than kneading. Techniques like autolyse, where flour and water rest before mixing, are also important. This step lets enzymes in the bread flour work, making the dough easier to shape. By grasping these scientific principles, you’ll make perfect yeast bread every time.
| Technique | Benefits | Considerations |
|---|---|---|
| Autolyse |
|
|
| Kneading |
|
|
By understanding the science of dough development, you’ll make the ultimate sandwich bread. It will impress everyone with its taste and texture.
Shaping and Forming Your Loaf
Learning to shape your sandwich bread dough is key to a perfect loaf. The way you shape it affects the texture, rise, and look of your homemade bread loaf.
Step-by-Step Shaping Guide
After the dough rises, stretch it into a rectangle that fits your bread baking pan. Roll it into a loose log, like a Swiss roll. Put the dough seam-side down in a greased loaf pan.
Avoid rolling it too tight. This can make the dough rise unevenly and result in a dense sandwich bread recipe.
Make sure the dough is evenly shaped in the pan. This will help it rise well and bake into a beautiful, uniform bread loaf.
Common Shaping Mistakes to Avoid
- Overworking the dough during shaping, which can compromise its structure and rise
- Insufficient tension in the dough, resulting in a flat or misshapen loaf
- Allowing the dough to stick to the work surface, making it difficult to handle and shape
- Failing to properly seal the seam of the dough, leading to uneven baking and collapse
By following these tips and avoiding common pitfalls, you’ll be well on your way to crafting perfectly shaped sandwich bread every time.
“The secret to a beautiful bread loaf starts with the way you shape the dough. With a little practice, you’ll be shaping like a pro in no time.”
Proofing and Rising Techniques
Getting the perfect rise is key for a fluffy sandwich bread. When proofing your bread dough, keep the temperature right and watch it closely. Proof your dough at 75-100°F (24-38°C) for the best rise.
During proofing, your yeast bread dough should double in size. To check if it’s ready, press it gently with your finger. If it springs back slowly, leaving a small dent, it’s ready for the next step.
For deeper flavor, try proofing your dough overnight in the fridge. This slow process enhances the flavors. Before baking, let the dough come to room temperature for success.
“The perfect proof is when the dough has doubled in size and feels soft and pillowy to the touch.”
The proofing time can change based on dough temperature, yeast, and recipe. Follow your recipe and use your senses to know when to move on.

Mastering proofing and rising will help you make the best sandwich bread. Your family and friends will love it.
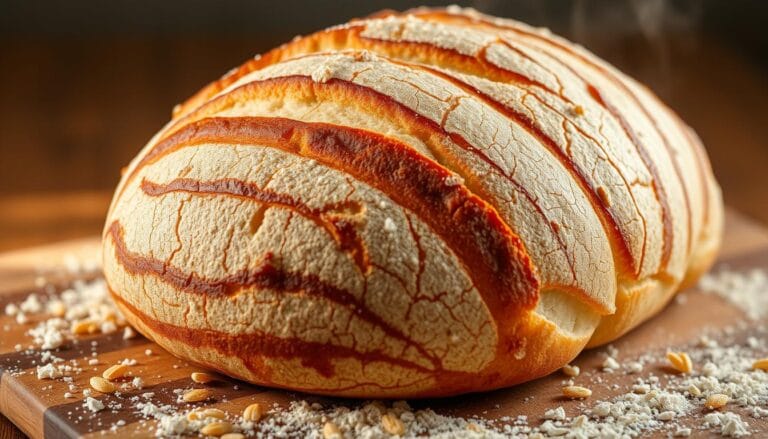
Baking Tips for Golden-Brown Perfection
Getting a perfect golden-brown crust on homemade bread is a sign of a great baker. Whether it’s a classic sandwich loaf or an artisan bread, knowing how to bake is crucial. We’ll look at temperature control and steam techniques to get that amazing bread aroma and crust in your kitchen.
Temperature Control Methods
The best baking temperature for most bread is about 375°F (190°C). This temperature is perfect for baking the inside while getting a golden crust. Make sure your oven is preheated well and use an oven thermometer if you can.
When baking, turn the bread pans halfway through. This ensures even browning and prevents hot spots in your oven. It helps the whole loaf look the same color.
Steam and Crust Development
Adding steam to your oven can make the crust on your artisan bread amazing. Place a small pan of water on the bottom rack for the first 10-15 minutes of baking. The steam will make the crust shiny and crisp.
For a softer crust, brush the dough with egg wash or melted butter/olive oil before baking. This layer keeps the crust moist, making it soft and fluffy.
Take your bread out of the oven when it’s golden and feels light. Let it cool completely before slicing into that freshly baked treat.
Storage and Preservation Methods
Keeping your homemade sandwich bread or bread loaf fresh is key. Whether you’re a pro or just starting, knowing how to store it is crucial. It ensures you enjoy your baking efforts to the fullest.
At room temperature, your bread stays fresh for up to 3 days in an airtight container. For longer storage, slice the bread loaf and freeze the slices. This way, your homemade bread can last up to a month. Just thaw the slices in your toaster for the best taste.
Don’t put your bread in the fridge. The cold, dry air can make it stale faster. Instead, use a bread box or linen or beeswax bags to keep it fresh.
Homemade bread doesn’t have preservatives like store-bought bread. So, it doesn’t last as long. But, with the right storage, you can enjoy your sandwich bread for days.
“Proper storage is the key to preserving the delicious flavor and texture of your homemade bread.”
If your bread gets stale, don’t worry. You can turn it into tasty bread crumbs, crunchy croutons, or French toast. With a bit of planning and the right storage, you can enjoy your baking for longer.

Troubleshooting Common Bread Problems
Baking homemade bread is rewarding, but you might face some challenges. We’ll help you solve common issues like texture and rising problems. Our expert tips will guide you through these bread-baking hurdles.
Texture Troubles and Solutions
If your bread is dense, it might be because you didn’t knead enough or didn’t let it rise long enough. Make sure to knead well to build the gluten network. Also, give the dough enough time to rise before baking.
On the other hand, kneading too much can make the bread tough. Find the right balance to avoid this.
Mastering the Rise
Uneven rising can be a problem, but it’s often easy to fix. Check that your yeast is fresh and active. Also, watch the dough closely as it rises.
Proof your dough at the right temperature, between 85°F and 95°F. This ensures the best rise. If the dough doesn’t rise enough, it will sink in the oven. But if it rises too much, it will be flat.
| Common Bread Problems | Potential Causes | Solutions |
|---|---|---|
| Dense, heavy texture | Under-kneading, insufficient rising time | Knead dough thoroughly, allow adequate rising |
| Tough, rubbery texture | Over-kneading | Adjust kneading time and technique |
| Uneven or inconsistent rising | Expired yeast, incorrect proofing temperature | Use fresh yeast, proof at 85°F-95°F |
| Collapsed or flat loaf | Under-proofing, over-proofing | Monitor rising time, adjust as needed |
Understanding bread dough and the rising process is key. With practice and these tips, you’ll bake perfect loaves every time. Your bread baking, yeast bread, and bread dough will improve greatly!
Conclusion
Learning to make homemade sandwich bread is a fun and rewarding journey. It beats store-bought bread in every way. With a bit of practice, you can make soft, fluffy, and tasty bread that everyone will love.
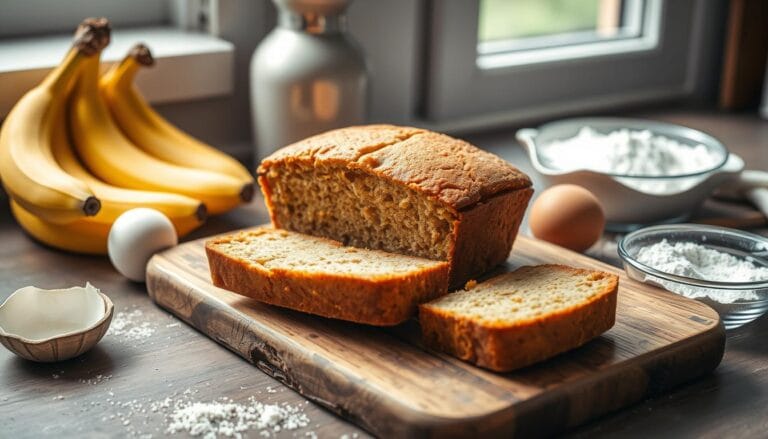
Try using whole wheat flour or adding cinnamon and raisins to your dough. This will help you create different flavors and keep your bread-making exciting.
The secret to great bread is knowing the basics of bread baking. This includes activating yeast and getting the dough just right. Follow the steps in this guide to make your own sandwich bread recipe better than ever.
Start baking and see how your skills grow. You’ll soon be making homemade bread that’s better than anything you can buy.
With a little patience and practice, you can become a pro at making sandwich bread recipe. Start your journey today and enjoy the joy of baking fresh bread at home.