Bread and Crumbs: 7 Delicious Recipes You Need to Try
The smell of fresh bread always brings me back home. Growing up, my grandmother made loaves that filled our kitchen with warmth. Today, I’m excited to share how to make bread and crumbs at home.
Artisan bread making is a journey of creativity and passion. With just five simple ingredients, you can make delicious rustic bread. This guide is for both beginners and experienced bakers, showing you how to make perfect artisan bread and breadcrumbs.
Bread making is an art form. It’s about understanding dough and mastering traditional techniques. You’ll learn to create bread with amazing texture, flavor, and character. You’ll discover how to turn simple ingredients into extraordinary loaves.
In this guide, we’ll cover everything from essential equipment to advanced techniques. You’ll learn to make rustic bread in just two hours, getting two beautiful loaves. Get ready to turn your kitchen into a personal artisan bakery!
Table of Contents
Essential Equipment and Ingredients for Artisanal Bread Making
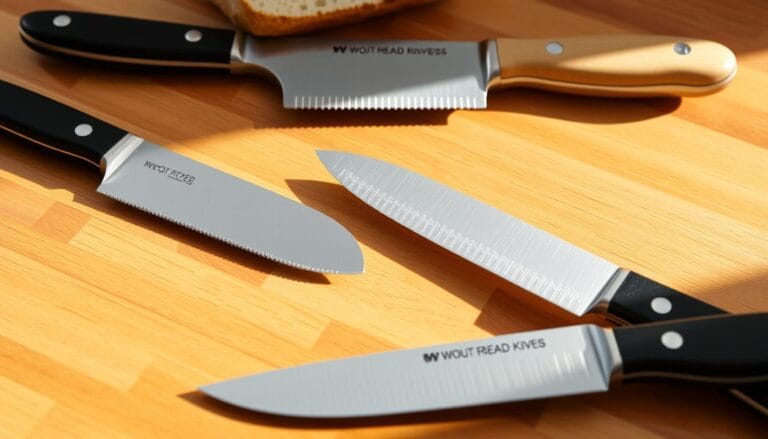
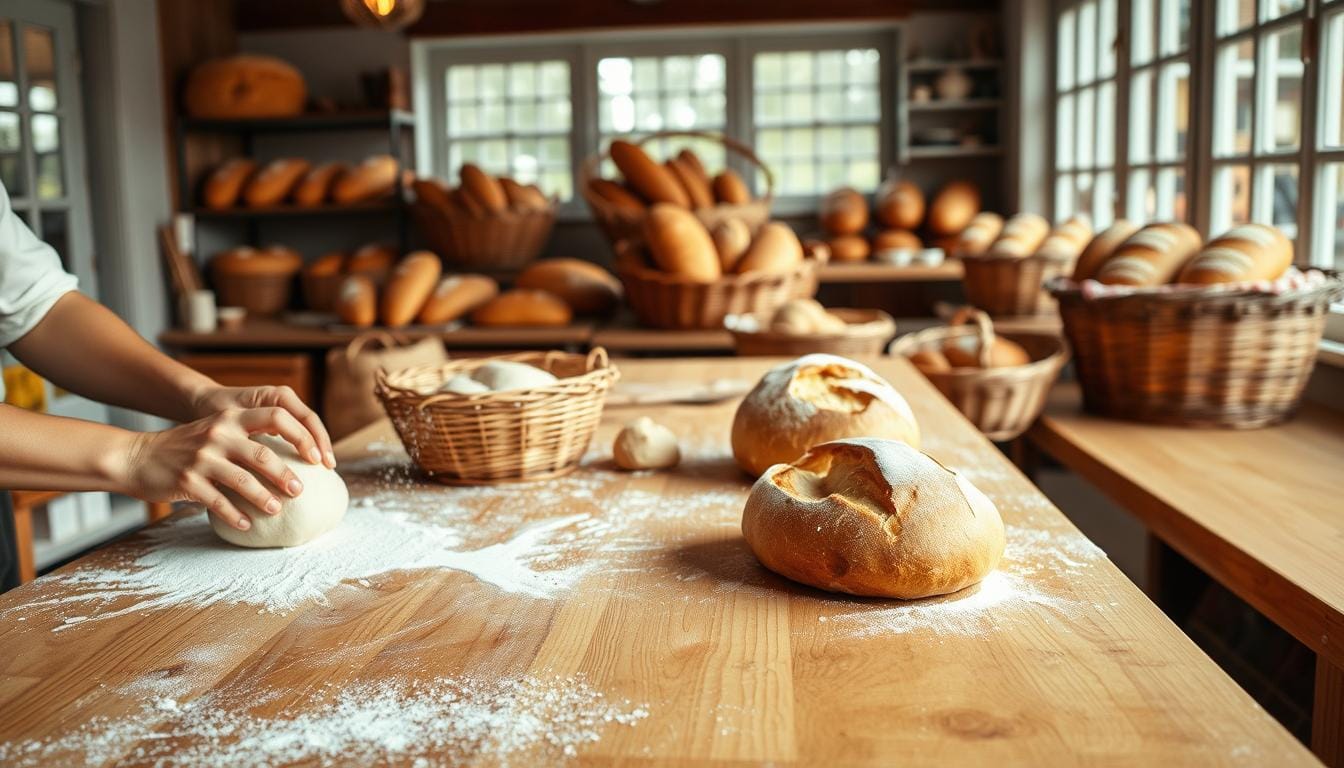
Starting with bread recipes means you need the right tools and ingredients. Turning your kitchen into a home bakery is exciting. But, you’ll need some key equipment to begin. Whether you’re new or experienced, the right gear is crucial for making tasty homemade bread.
Basic Tools for Home Baking
Every bread baker needs a basic set of tools. Here are the essentials for your bread-making kit:
- Digital kitchen scale (accurate to ±2 grams)
- Large mixing bowl
- Dough scraper
- Bench knife
- Measuring cups and spoons
Quality Ingredients Selection
Great bread starts with top-notch ingredients. Here are the key components to focus on:
| Ingredient | Recommended Type | Average Price |
|---|---|---|
| Flour | High-protein bread flour | $5-$8 per bag |
| Yeast | Active dry or instant yeast | $3-$5 per packet |
| Salt | Kosher or sea salt | $2-$4 per container |
Optional Advanced Equipment
As you get better at baking, think about these advanced tools:
- Dutch oven ($299)
- Proofing basket ($35)
- Digital thermometer ($41)
- Bread lame for scoring ($19)
Pro tip: A precise digital scale is key for consistent bread. Look for one that reads in 1-gram increments and can handle up to 10 pounds.
Understanding Bread Formulas and Ratios
Mastering bread making is all about the science of ingredient ratios. Baker’s percentages are key. They help you make sourdough bread with precision and confidence.
In bread making, each ingredient is based on flour, which is always 100%. This makes scaling recipes easy. It also helps understand how ingredients work together.
Key Bread Formula Components
- Flour: 100% (base of all calculations)
- Water: 60-75% (hydration level)
- Salt: 2% (flavor and fermentation control)
- Yeast/Levain: 0.5-1% (fermentation starter)
Hydration levels greatly affect your sourdough bread’s texture and taste. Different hydration percentages lead to different bread styles:
- 60-65%: Firm sandwich bread
- 65-75%: Chewy sourdough with open crumb
- 75-80%: Rustic, high-moisture loaves
- 80-85%: Extremely airy, challenging dough
When tweaking bread formulas, remember the environment and flour type. Warmer conditions might need less levain. Different flours require specific hydration levels.
Professional bakers use precise calculations to maintain consistency and quality across every batch of bread.
Understanding these ratios turns home bread making into a reliable, scientific process. It ensures exceptional sourdough bread every time.
The Science Behind Perfect Dough Development
Bread making is a delicate science where chemistry meets technique. It creates artisan bread with amazing texture and flavor. Knowing how ingredients and conditions work together can change your baking at home.
Creating artisan bread involves several key scientific principles. The dough development process is full of molecular interactions. These need precise control and understanding.
Gluten Formation Process
Gluten development is key for bread with great structure. Wheat flour has two main proteins: glutenin and gliadin. When mixed with water, they form gluten networks.
About 12% of flour’s starch granules get damaged. This damage helps enzymes work better.
- Proteins interlock to create elastic dough structure
- Water hydration triggers protein bonding
- Mechanical mixing strengthens gluten matrix
Temperature Control
Temperature is vital in bread making. It affects yeast activity and fermentation. Each stage needs a specific temperature for the best enzymatic processes.
| Temperature Range | Enzyme/Yeast Activity |
|---|---|
| 30-50°C (90-120°F) | Optimal CO₂ gas expansion |
| 40-43°C (104-109°F) | Active dry yeast reactivation |
| 50-60°C (120-140°F) | Peak amylase enzyme activity |
Fermentation Basics
Fermentation turns simple ingredients into complex, flavorful bread. Yeast eats sugars, making carbon dioxide and alcohol. It also develops rich flavors. Instant yeast makes more gas because of its finer granules and surface.
By grasping these scientific basics, you can improve your bread making. You’ll make artisan bread that’s consistently delicious.
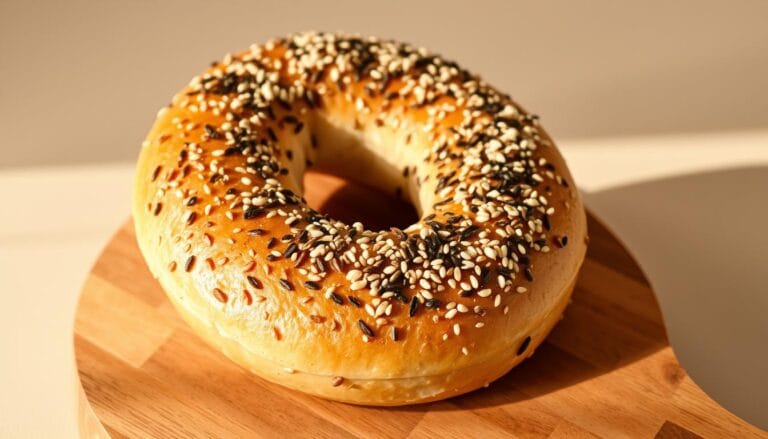
Mastering the Art of Bread and Crumbs

Making great bread and crumbs is like magic. It turns simple stuff into something amazing. Start by picking the right bread, like sourdough or whole wheat. Each type gives your dishes a special taste and texture.
To make homemade breadcrumbs, follow these steps:
- Choose fresh or slightly stale bread that’s sturdy
- Dry the bread in the oven or air
- Grind the bread into the right crumb size
- Add herbs and spices for extra flavor
Bread and crumbs are used in many ways around the world. Italian cooks use them in meatballs, and Japanese chefs use panko for crunch. Making your own means you avoid additives found in store-bought ones.
Try different breads to make unique crumbs. Add herbs like parsley or thyme, or parmesan for extra taste. Tip: Store your crumbs in a vacuum-sealed bag to keep them fresh for months.
Making homemade bread and crumbs is more than cooking. It’s a way to reduce waste and get creative in the kitchen.
Storing breadcrumbs right is key to keeping them good. Use airtight containers in a cool, dry place. Freezing them keeps them fresh for longer, so you’re always ready for your next dish.
Traditional Fermentation Methods and Techniques
Learning about fermentation is key in bread making, especially for sourdough. Knowing different techniques can boost your baking skills. It makes your loaves more flavorful and complex.
Fermentation turns simple ingredients into amazing bread. It’s all about managing time and temperature. Each method adds special qualities to your sourdough, improving both texture and taste.
Cold Fermentation Benefits
Cold fermentation has big advantages for bakers. It slows down the process, creating deeper flavors and better bread structure.
- Enhances flavor complexity
- Increases bread’s digestibility
- Allows for more convenient scheduling
Room Temperature Fermentation
Room temperature fermentation is a traditional bread-making method. It lets yeast grow naturally, leading to strong flavors.
Working with Preferments
Preferments are key for rich, complex bread flavors. They make the dough more mature, with better texture and taste.
| Preferment Type | Hydration | Fermentation Time | Yeast Percentage |
|---|---|---|---|
| Poolish | 100% hydration | 8-16 hours | 0.03% – 0.33% |
| Biga | 50-60% hydration | 12-24 hours | 0.1% – 0.2% |
| Sourdough Starter | 100% hydration | 12-36 hours | Natural wild yeast |
Trying out these fermentation methods can open up new flavors in your bread making. Each technique brings its own benefits. They can turn your homemade sourdough into a true artisanal masterpiece.
Shaping and Scoring Artisanal Loaves

Learning to make artisan bread means mastering shaping and scoring. These steps turn your dough into a stunning, professional-looking loaf. It will have great texture and flavor.
Shaping is the sixth step in bread making. It creates surface tension that gives your bread its unique shape. The goal is to make a tight outer skin. This helps the dough keep its shape during proofing and baking.
- Preshape dough to create smoother, more cohesive pieces
- Allow dough to relax outward by approximately 30%
- Ensure the dough is not overly sticky
- Maintain consistent shape and tension
Different breads need different shaping methods. Bâtards have a long, single slash. Baguettes need more detailed shaping to keep them light and airy.
“Shaping is where technique meets artistry in bread making” – Artisan Baker’s Wisdom
Scoring is key for dough expansion during baking. A 1/4-inch deep cut lets the bread expand nicely. This makes it look attractive and professional. The crust-to-crumb ratio changes with the loaf’s shape. Baguettes have more crust because they’re thin.
Getting better at bread making takes practice. Every loaf you shape will help you improve. Soon, you’ll make perfect artisan bread at home.
Steam Baking Techniques for Crusty Bread
Getting that perfect crispy crust is the dream of every bread baker. The secret? Steam. It turns simple home baking into a gourmet experience.
Steam is key for a glossy, blistery crust that bread fans adore. Home bakers can achieve pro-level results by mastering steam techniques.
Creating Steam in Home Ovens
There are many ways to create steam for baking bread at home:
- Use a cast-iron skillet with lava rocks
- Spray water directly into the oven
- Bake in a preheated Dutch oven
- Place a heavy-duty stainless steel pan with boiling water
Steam Generation Techniques
| Method | Steam Output | Difficulty |
|---|---|---|
| Lava Rocks | High | Moderate |
| Dutch Oven | Medium | Easy |
| Water Spray | Low | Simple |
Timing and Temperature Control
For the best artisan bread, follow these tips:
- Preheat oven to 450°F
- Generate steam during the first 20 minutes of baking
- Spray more steam 5-10 minutes into baking
- Remove steam sources to get a crisp crust
Learning steam baking techniques will make your homemade bread amazing. You’ll get that crispy, pro-quality crust every time.
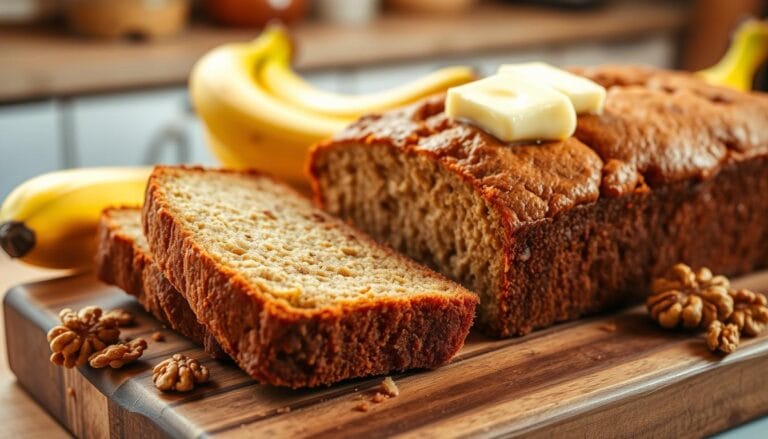
Making and Storing Homemade Breadcrumbs
Making your own breadcrumbs is easy and saves money. It turns old bread into a great ingredient for many dishes. This way, you can make your food taste better.
Choose the right bread for your breadcrumbs. Sourdough, day-old artisan loaves, or leftover sandwich bread are good choices. You’ll need about 4 ounces of bread to get 2-3 cups of breadcrumbs.
Breadcrumbs Preparation Techniques
- Dry bread cubes in oven at 300°F for about 5 minutes
- Process bread in food processor until desired texture is achieved
- For fine breadcrumbs, remove crusts
- For coarse breadcrumbs, pulse less in processor
Seasoning your breadcrumbs can make them amazing. Try adding ¼ cup grated pecorino cheese, ½ teaspoon lemon zest, or spices like garlic powder and Italian seasoning.
Storing Your Homemade Breadcrumbs
Keep your breadcrumbs fresh by storing them right. You can store them at room temperature for up to 3 days. Or, freeze them for up to 3 months. Freezing in an airtight container keeps them crispy.
| Storage Location | Duration |
|---|---|
| Room Temperature | Up to 3 days |
| Refrigerator | Up to 3 weeks |
| Freezer | Up to 3 months |
Breadcrumbs are great for coating foods or topping casseroles. They’re a must-have in every kitchen. With these tips, stale bread will never be a waste again!
Troubleshooting Common Bread Making Issues
Bread making can be tough, even for pros. Knowing the common problems helps make perfect loaves. Issues like dense crumb and crust problems can happen.
Diagnosing Dense Crumb Problems
A dense crumb can come from a few things:
- Not kneading enough (affects about 40% of home bakers)
- Not proofing the dough long enough
- Using old or inactive yeast
- Getting the flour-to-water ratio wrong
To fix dense crumb, try these:
- Knead until the dough is smooth and elastic
- Make sure to proof the dough for 4-6 hours at room temperature
- Use fresh yeast and check if it’s active
- Keep the water at 105°F to 115°F
Solving Crust and Baking Challenges
Crust problems can really affect your bread. Some common ones are:
- Pale crusts from baking too low
- Uneven browning from wrong oven spot
- Hard or too thick crusts
Here’s how to get perfect crusts:
- Preheat to 475°F for the best oven spring
- Use a darker loaf pan for even browning
- Check the bread’s internal temperature (190-210°F)
- Avoid too many loaves in the oven
Remember, baking gets better with practice. Every problem is a chance to get better and make tasty homemade bread.
Creative Uses for Artisanal Bread and Crumbs
Your homemade artisanal bread opens up a world of possibilities. Use bread crumb coatings to make simple dishes stand out. They add texture and depth to your meals.
Try making bread puddings, stuffings, and casserole toppings with your bread. A loaf can give you 2-3 cups of breadcrumbs. This way, you can make tasty meals and cut down on waste. For example, use sourdough breadcrumbs, pecans, and Parmigiano-Reggiano cheese for a sweet potato casserole.
Turn old bread into gourmet croutons for salads or soups. Grilled cheese croutons can bring a new twist to your recipes. This way, you save money and help reduce bread waste in the U.S., which is about 40%.
Homemade breadcrumbs are better than store-bought ones. They keep in the freezer for up to 3 months. This means you’re always ready to add a special touch to your cooking.